The Final Walkthrough: A Checklist Before You Get the Keys
The Final Walkthrough: A Checklist Before You Get the Keys
Buying a new home is an exciting milestone, but before you get the keys and move in, there’s one important task left to complete the final walkthrough. This is your last chance to ensure that everything in the house is in the condition you expected before closing. A thorough walkthrough can save you from unpleasant surprises later on and give you the peace of mind that your new home is ready for move-in. In this guide, we’ll walk you through a detailed checklist to follow during your final walkthrough to ensure that everything is perfect before you take possession.
What is the Final Walkthrough and Why is it Important?
The final walkthrough is the last step before you officially take ownership of the property. It typically happens one to two days before closing and gives you the opportunity to inspect the home and confirm that it is in the agreed-upon condition. This process is not a detailed inspection but rather a chance to ensure that the seller has completed any agreed-upon repairs, that no new issues have arisen, and that the home is ready for you to move into.
Key Reasons for the Final Walkthrough
- Confirm Repairs Have Been Made: Ensure that any issues identified during previous inspections have been fixed as promised.
- Check the Condition: Verify that no damage occurred after the inspection and before you take possession.
- Test Key Systems: Ensure that major systems such as plumbing, electrical, and HVAC are functioning properly.
- Ensure Move-In Readiness: Make sure the home is clean, personal items have been removed, and everything is in working order.
The Essential Final Walkthrough Checklist
Before you head to your final walkthrough, it’s essential to have a solid checklist to ensure nothing is overlooked. Use this guide to stay organized and thorough during your walkthrough.
1. General Condition of the Home
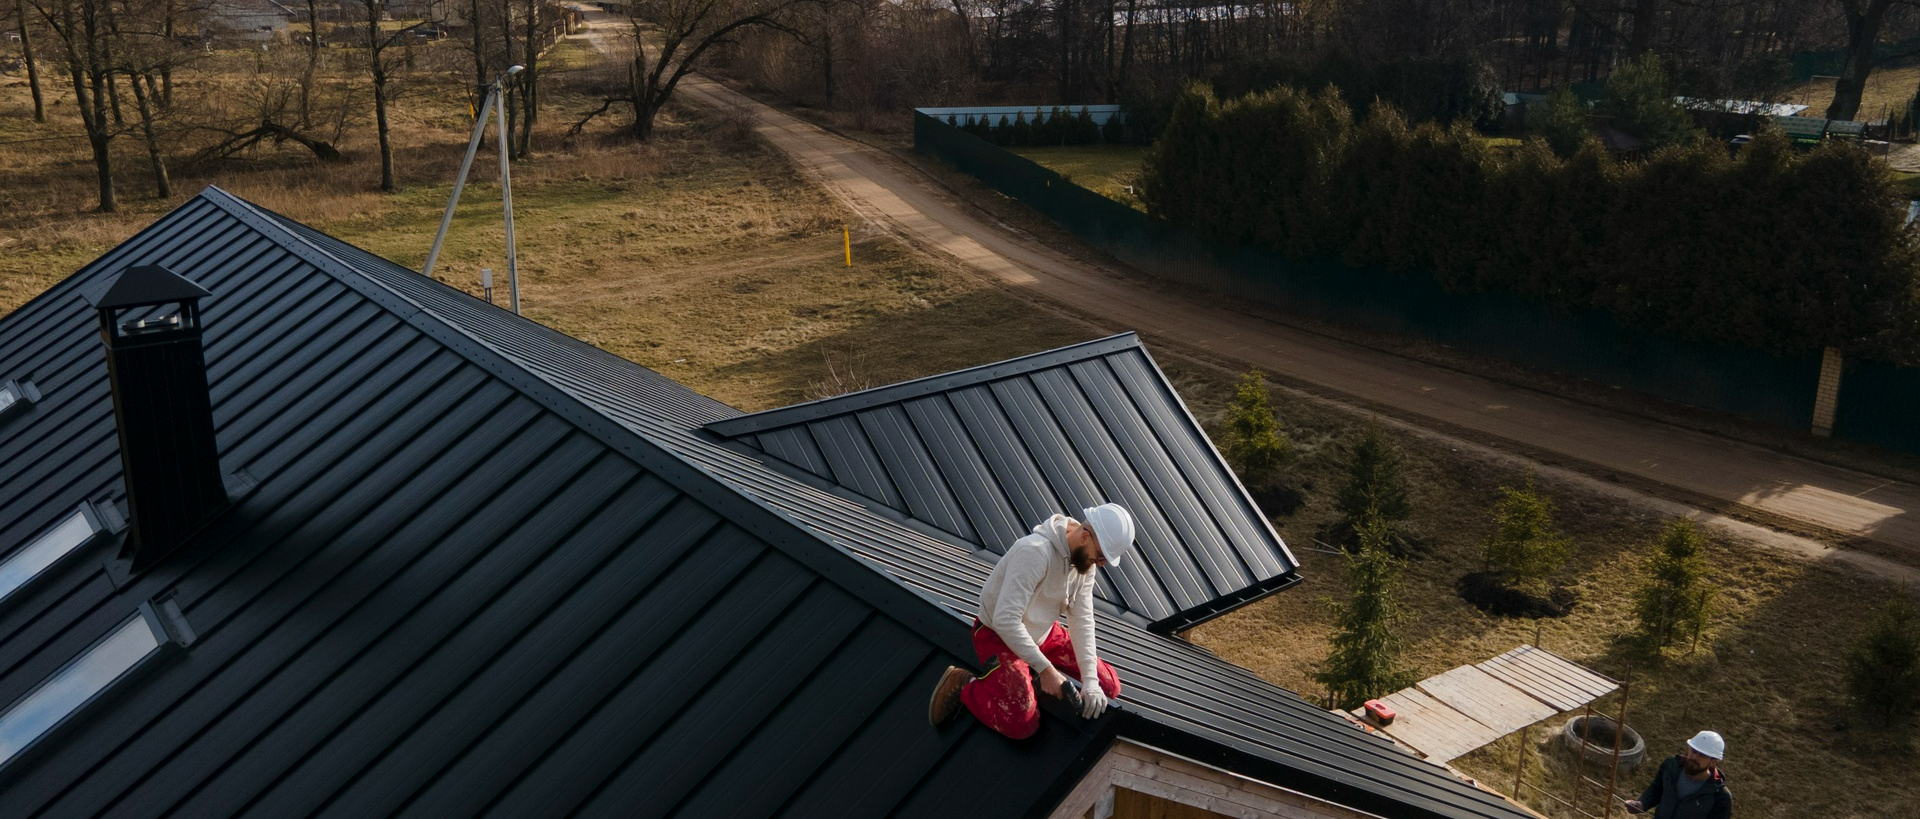
Start by inspecting the overall condition of the home, including the exterior and landscaping.
- Exterior: Check for any damage to the siding, roofing, and foundation. Look for cracks, holes, or any signs of water damage that might have occurred since your last visit.
- Landscaping: Ensure that the yard is in good condition and any agreed-upon outdoor maintenance (like lawn mowing, tree trimming, or gardening) has been completed.
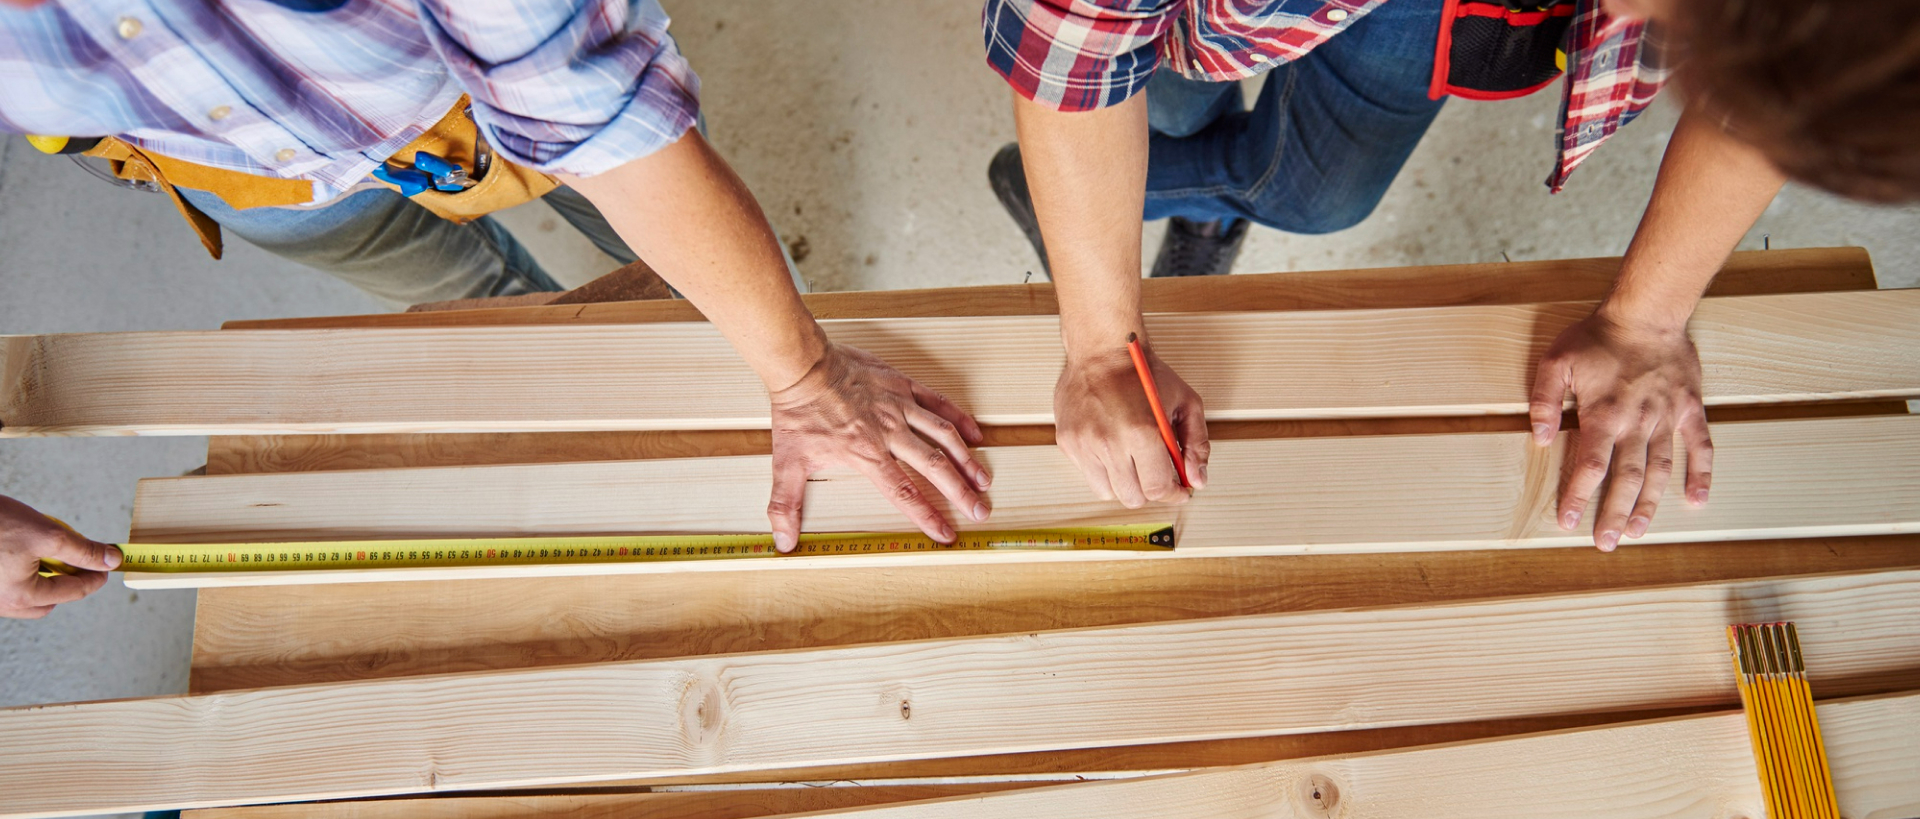
2. Structural Integrity and Finishes
Now, move inside the home to inspect its structural components and finishes.
- Walls and Ceilings: Look for cracks, holes, or uneven surfaces in the walls and ceilings. A fresh coat of paint should be uniform, without streaks or missed spots.
- Floors: Inspect flooring for any damage. Whether it’s hardwood, carpet, or tile, make sure there are no scratches, stains, or unlevel areas.
- Windows and Doors: Check that windows and doors open and close properly, and ensure no damage has occurred to them during the final stages of construction or repairs.
3. Plumbing, Electrical, and HVAC Systems
Test out all the major systems to ensure they work as expected.
- Plumbing: Turn on all faucets and check for any leaks or issues with water pressure. Test toilets and showers for functionality. Inspect under sinks for signs of leaks or water damage.
- Electrical: Test light switches and electrical outlets. Make sure that all installed appliances (refrigerator, stove, etc.) are working properly and that no electrical wiring is exposed.
- HVAC: Set the thermostat to the desired temperature and check whether the heating and cooling systems are functioning. Make sure air conditioning and heating units are both working properly, and ensure filters are clean.
4. Kitchen and Bathrooms
The kitchen and bathrooms are the areas most likely to have specific issues that need attention. Be sure to take the time to check every detail.
- Kitchen: Test all appliances, including the stove, oven, microwave, and dishwasher, to ensure they are in working order. Open and close cabinets and drawers to ensure they function properly. Check the countertops and backsplash for any damage or imperfections.
- Bathrooms: Test sinks, bathtubs, and showers. Ensure there are no leaks around the faucets or drains. Check that toilet seats are secure and that there is no visible damage to countertops or mirrors.
5. Safety Features and Codes
Safety should always be a top priority when moving into a new home. During the walkthrough, verify that the home meets safety standards and building codes.
- Smoke and Carbon Monoxide Detectors: Ensure that smoke detectors and carbon monoxide detectors are installed and functioning in key areas (kitchen, bedrooms, hallways).
- Exposed Wiring: Check for any exposed electrical wiring, especially in areas like attics, basements, and garages.
- Fire Extinguishers: If required by local codes, make sure fire extinguishers are present and accessible.
6. Final Details and Personal Belongings
Ensure that the home is ready for you to move in, with no lingering issues or leftover personal belongings.
- Personal Items: Make sure that the seller has removed all personal belongings, including construction materials, tools, or old furniture.
- Cleaning: The home should be clean and free of dust, debris, or any leftover construction materials. Look for signs of cleaning, such as vacuumed carpets and wiped-down surfaces.
- Window Screens: Check that all windows have screens and that all lightbulbs are working.
How to Prepare for Your Final Walkthrough
To make the final walkthrough as smooth as possible, it’s important to come prepared.
Schedule and Timing
Make sure to schedule your final walkthrough for a day or two before the closing date. This timing gives you enough leeway to address any last-minute issues that may arise before you officially take possession of the home.
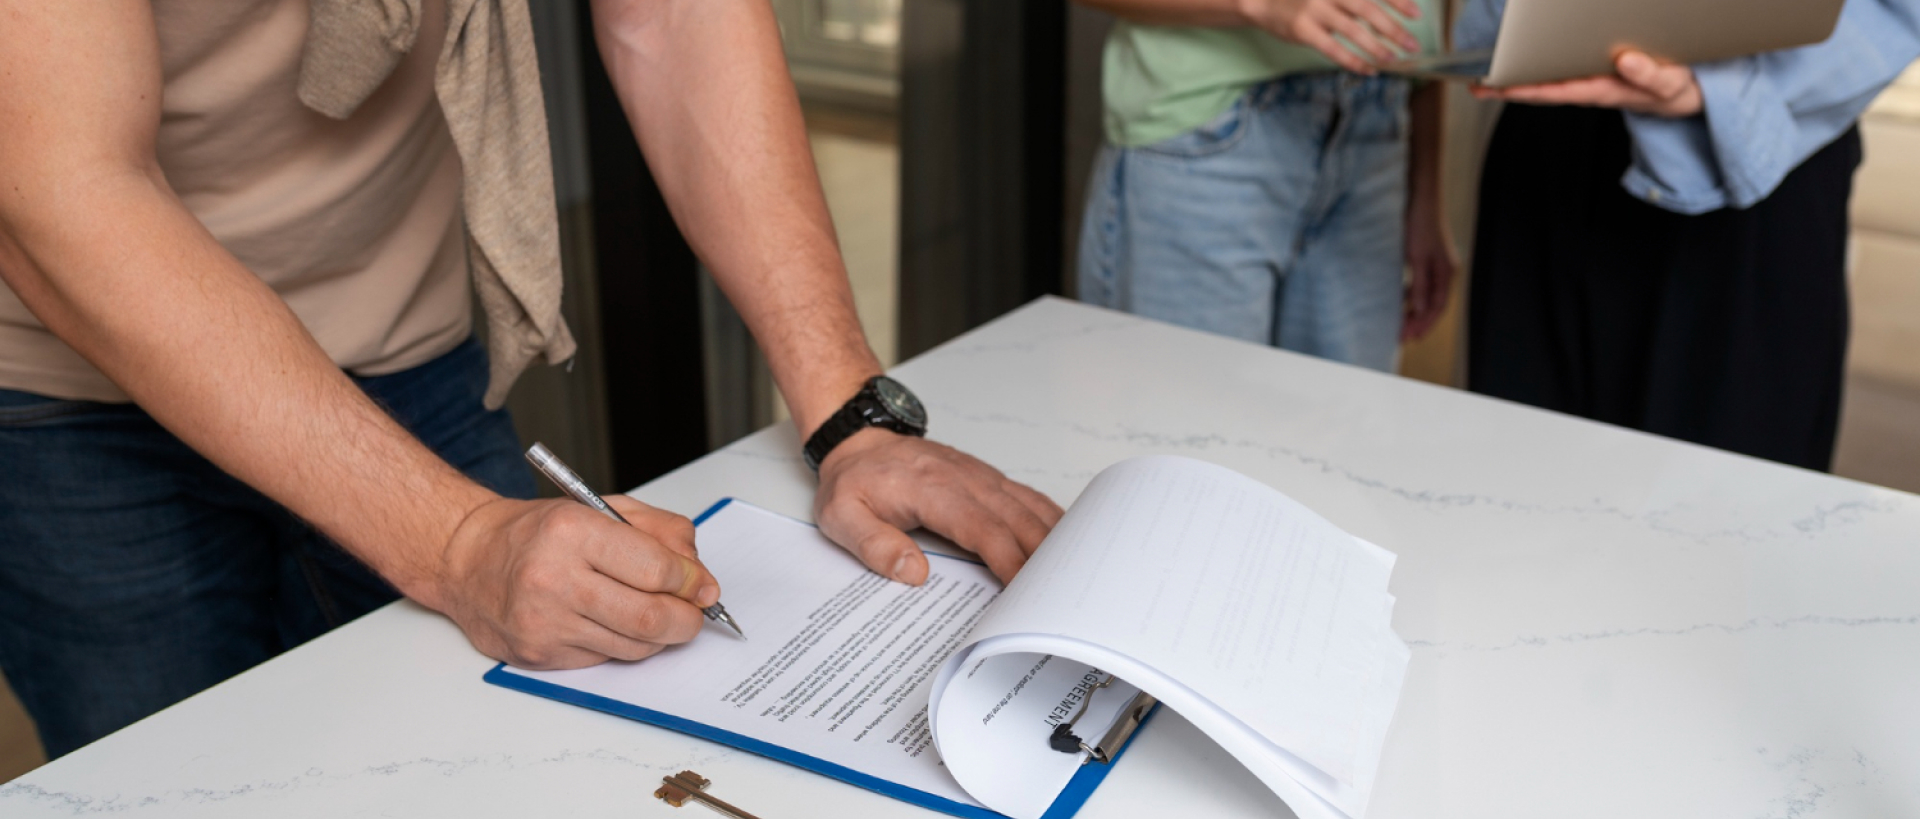
Bring the Right Documentation
Bring the following documents to your walkthrough:
- Purchase Agreement: To reference any agreed-upon repairs or conditions that need to be met.
- Inspection Reports: If applicable, refer to the inspection reports to ensure that any issues noted during earlier inspections have been resolved.
- Repair Requests: Have a list of requested repairs handy to ensure that they were completed as agreed.
Bring Tools and Equipment
- Checklist: Use a printed or digital checklist to help you stay organized.
- Camera: Take photos of any issues you find. This will be helpful for documenting concerns that need to be addressed.
- Flashlight: Some areas may be poorly lit, especially in basements, attics, or closets, so bring a flashlight to check for any potential problems.
What to Do if You Find Issues During the Walkthrough
It’s common to find small issues during the final walkthrough. Here’s how to handle them:
Common Issues to Expect
- Cosmetic Issues: These could include things like minor scuffs on the walls or scratches on the flooring.
- Appliance Malfunctions: Occasionally, an appliance may not work as expected, such as the dishwasher not turning on or the oven not heating properly.
- Plumbing or Electrical Issues: Leaks under sinks or non-functional light switches are some of the most common problems found during a walkthrough.
How to Handle the Issues
- Minor Issues: For small cosmetic problems, simply document them and request that they be fixed before closing or provide a credit at closing to cover the cost of repairs.
- Major Issues: If you encounter significant problems, such as plumbing leaks or electrical failures, you can request that the seller repair the issues before closing or negotiate for a price reduction to account for the repair costs.
Frequently Asked Questions (FAQ)
When should I schedule the final walkthrough?
It’s best to schedule your final walkthrough a day or two before your closing date to allow time for any last-minute issues to be addressed.
What happens if I find issues during the final walkthrough?
Document the issues and ask the seller to either fix them before closing or negotiate a price reduction at closing.
Should I bring a real estate agent to the final walkthrough?
Yes, having your real estate agent with you can help ensure that everything goes smoothly and that no details are overlooked.
What should I do if the seller doesn’t fix the problems before closing?
If the issues are significant, you can either delay the closing until repairs are made or negotiate for a repair credit at closing.
Conclusion
The final walkthrough is an essential step in the home-buying process. By following this checklist and taking a thorough approach, you can ensure that your new home is in the condition you expect before you get the keys. Whether you’re a first-time buyer or a seasoned homeowner, the final walkthrough provides you with an opportunity to protect your investment and avoid future problems.
Ready to start your home-buying journey or need help with your final walkthrough? Contact us today for expert guidance and support every step of the way. Let us help you navigate the home-buying process with ease!